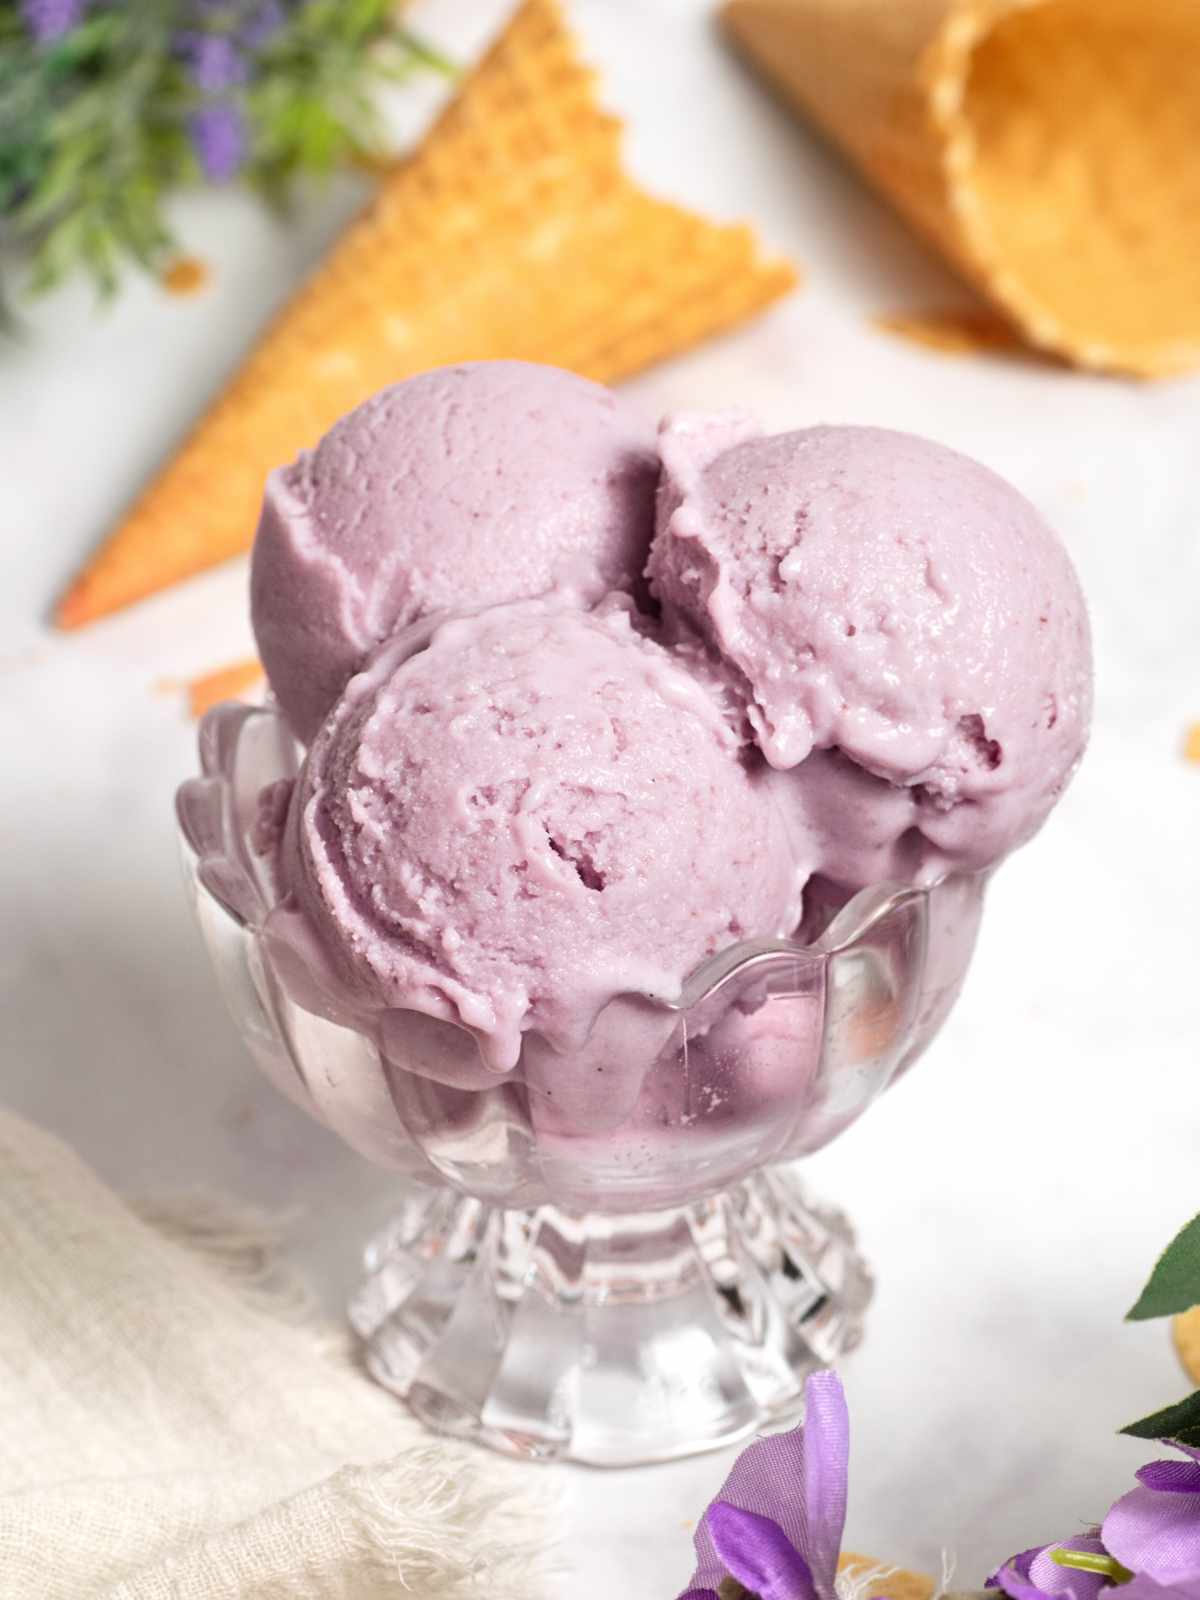
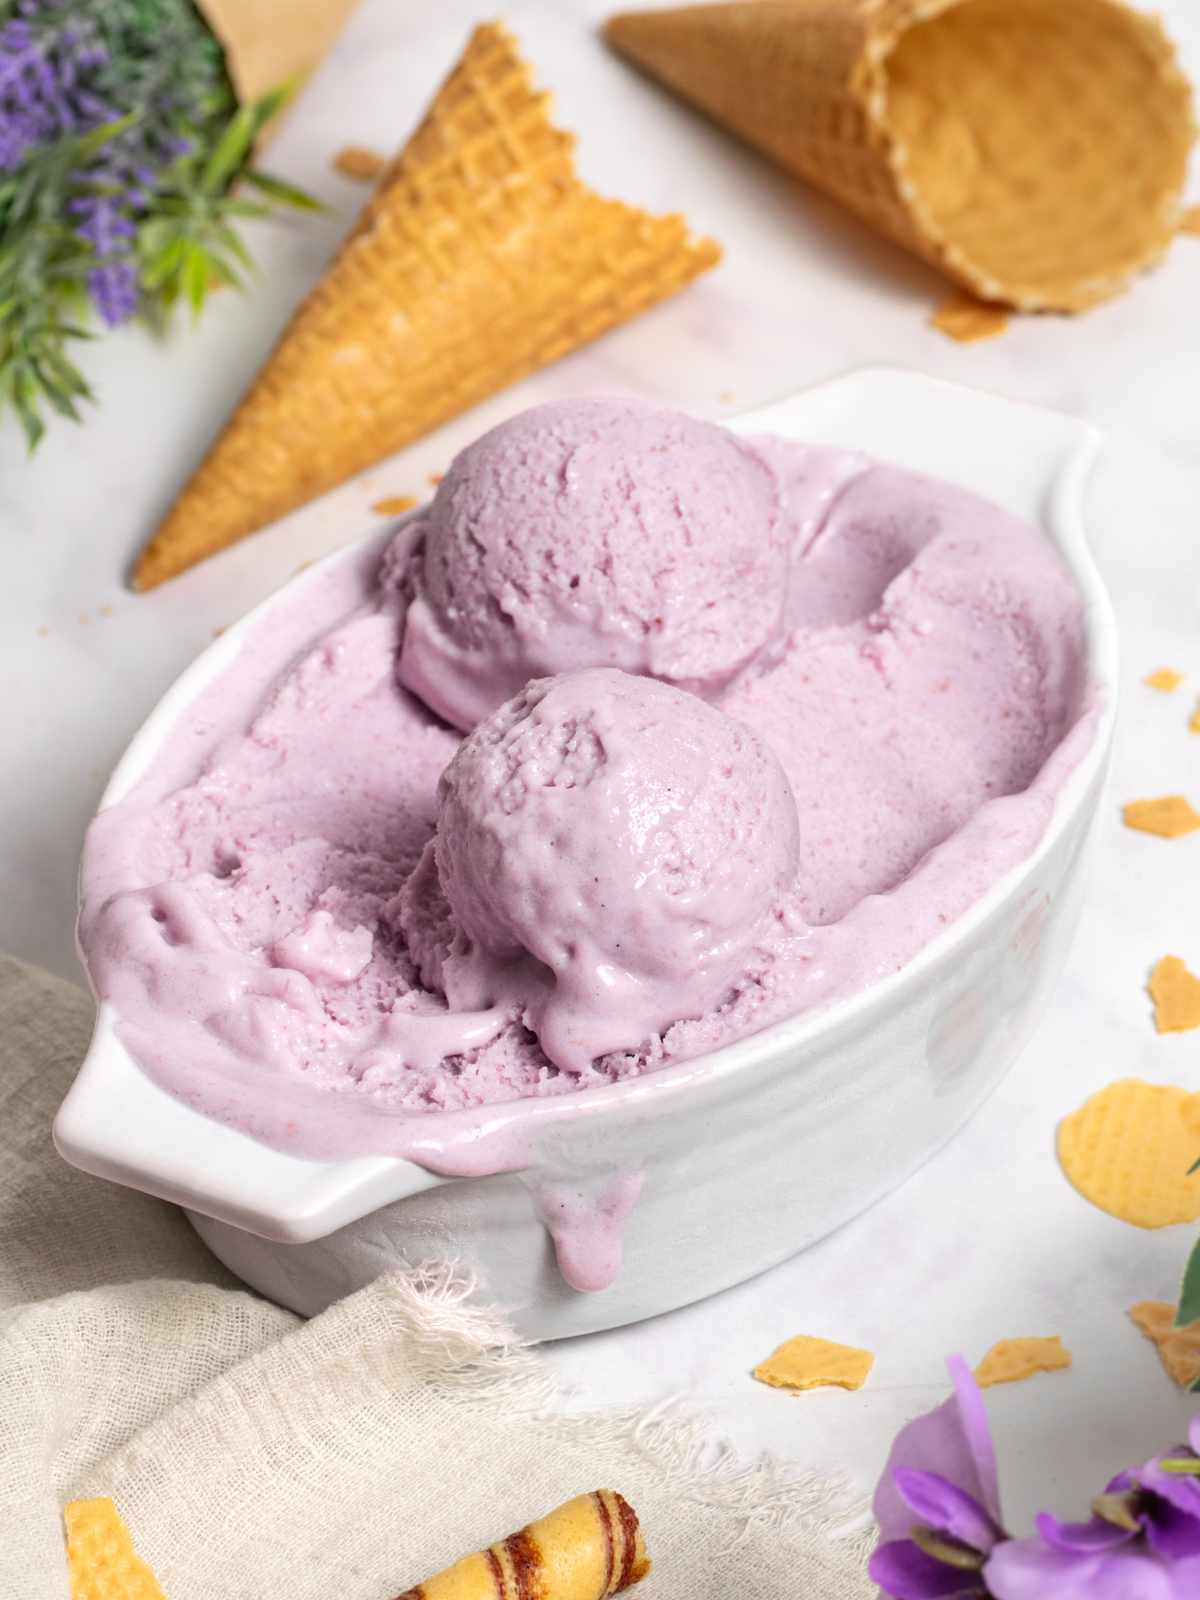
Creamy, fragrant and nutty taro ice cream made with real taro paste. This recipe is entirely natural and 100% delicious!

My love for all things taro started a few years ago and since then, I have enjoyed taro in all shapes and sizes. Now my latest personal favorite is Taro Ice Cream, a creamy and rich frozen dessert made with real taro paste.
Velvety smooth coconut cream blends with rich and creamy taro paste to make the most indulgent ice cream. Every spoonful is full of flavor and will transport you to a tropical paradise!
Make this ice cream recipe is also really simple, as you only need a few minutes to whip it up. It’s no wonder that taro is one of the top ice cream flavors in most Asian countries, because it’s so simple yet so wonderful!
If you’re looking for other Taro recipes, check out reader favorite Taro Mochi or the ultra soft Sweet Taro Buns. For taro boba fans, I got you! This Taro Milk Tea is not only extra delicious, but also natural!
In the mood for more amazing Ice Cream recipes? This Ube Ice Cream is Heaven sent, while this fragrant Pandan Ice Cream will leave you wanting more. Indulge in this Homemade Green Tea Matcha Ice Cream, Roasted Hojicha Ice Cream or the best Thai Tea Ice Cream!

Why you'll love this recipe
- Natural goodness: This taro ice cream recipe is made entirely from natural ingredients, free from artificial ingredients or preservatives. The flavor is 100% natural!
- Irresistible aroma: Every spoonful of this frozen dessert is loaded with wonderful flavors with floral vanilla notes, earthiness and coconut.
- Extra creamy: This ice cream is beyond creamy and velvety smooth! Both taro paste and coconut cream add lots of richness, making this dessert extra creamy.
- Easy to make: Although it tastes rich and complex, don’t be fooled! This recipe is very simple to make and only requires a handful of ingredients.

What is taro ice cream made of?
Taro ice cream is made from taro, a starchy root vegetable commonly used in Asian cuisines. In terms of flavor, it has an earthy sweetness to it, with hints of delightful nuttiness. This dessert is also naturally purple, because fresh taro root turns pale purple when steamed.
This ice cream flavor is commonly paired with coconut cream to make the most unique and creamy dessert. Condensed milk adds extra creaminess and richness, making this ice cream a truly delicious frozen treat.
This dessert can easily be made vegan by replacing the condensed milk. Other flavorings like vanilla can be added to enhance the aroma.

What is taro?
Taro is a root vegetable cultivated in South Asia, Africa and Oceania. It looks similar to a yam, with brown and rough skin. Although similar in appearance to ube, taro is different from purple yam.
When raw, taro flesh looks white with small reddish-purple speckles. Once cooked (steamed or baked), this root vegetable turns a pale purple.
Taro is commonly used for desserts, because it has a natural subtle sweet flavor, with hints of nuttiness. It pairs beautifully with coconut, so they’re often used together in desserts across Asia.
Ingredient round-up
Before commencing this recipe, I recommend making Taro Paste in advance. I always make a big batch and store it in the freezer to use later on.
Here’s what you will need for this recipe:

- Taro paste – please follow my guide here on How to make Taro Paste
- Sweetened condensed milk – added for sweetness and creaminess.
- Coconut milk & cream – used for their nutty flavor, which pairs wonderfully with taro. They also add richness and creaminess to this dessert.
- Salt – bring everything together and balances out the flavors.
Substitutions & Variations
Finding raw taro to make taro paste can sometimes be tricky, so there are other alternatives. Similarly, other ingredients can also be swapped out. Here are some useful substitutions:
- Taro paste – can be replaced with taro root powder. I recommend using pure taro powder, as it does not contain any sweeteners. Hydrate the powder with some condensed milk beforehand, then add to the recipe.
- Sweetened condensed milk – can be replaced with coconut cream or heavy cream + ¼ cup cane sugar or honey or corn syrup
- Coconut milk & cream – can be swapped for whole milk and heavy cream or plant based alternatives
Ingredient Variations
- Vanilla – works wonders for bringing out the natural taro flavor even more. You can use either vanilla extract or vanilla bean paste
- Ube extract – a tiny drop of ube extract can add a deeper earthy flavor and add make the color more purple too.
How to make Taro Ice Cream
If you don’t already have taro paste made, follow my guide on How to make Taro Paste before commencing this recipe. Let’s begin:

1. Combine all the ingredients into a saucepan, then mix to combine. It’s okay if there are a few lumps at this point.

2. Bring ice cream mixture to a simmer, then cook until it turns into a smooth paste.

3. If needed, use immersion blender to remove any lumps. Cool down completely, then refrigerate for 3-4 hours or overnight.

4. Churn in ice cream machine until soft-serve consistency. Freeze for 3-4 hours and serve.
Success Tips & Tricks
- Real taro: For the best flavor and texture, I highly recommend using taro paste, made from the real Asian root veggie. Follow my guide here to make the best Taro Paste. You can prepare it in advance and freeze it for up to 2-3 months.
- Use a sieve: Since we’re using real taro, chances are there will be some small lumps in the mixture. Use a sieve to remove all lumps for a silky smooth texture. I recommend sifting the mixture whilst still hot, as it thickens up when cold.
- Pre-chill before churning: For the best flavor, I recommend refrigerating the ice cream base for 2-4 hours or overnight before churning. This will allow the flavors to mature and churning will also be easier.
- Freeze after churning: Depending on your ice cream maker, after churning the ice cream can be a little soft. To achieve the best texture, I recommend transferring it into a shallow container and freeze for 4-6 hours.

Serving & Storing
Serving: For soft serve, let it freeze for 1 hour after churning, then serve. For firmer ice cream, freeze for at least 4-6 hours beforehand. Enjoy it out of waffle cones for an even more delicious frozen dessert!
Storing: Homemade taro ice cream can be stored in the freezer for up to 2-3 months. Store it in an airtight freezer-safe container. For extra protection, add a layer of plastic wrap on the surface of the ice cream.
If frozen for too long, the ice cream can become too hard. Let it sit in the fridge for 20-30 minutes to soften slightly before scooping.
Overall, I recommend enjoying it as soon as possible, preferably within the first 2-3 days for the best flavor and texture.

If you enjoyed this recipe, you will love these too:
If you’ve tried this recipe out, please don’t forget to rate and comment on this post. I love hearing from you, so feel free to reach out to me on social media as well and tag me in your posts!
Recipe

Taro Ice Cream Recipe with Real Taro
Equipment
- ice cream machine
Ingredients
- 1 cup taro paste* (250 grams)
- ¼ cup sweetened condensed milk (75 grams)
- ½ cup coconut milk, full fat (120 grams)
- ½ cup coconut cream (120 grams)
- pinch of salt
Optional ingredients
- 1 teaspoon vanilla bean paste
- 1 drop ube extract of purple food coloring
- ¼ cup toasted coconut flakes, for serving
Instructions
If using raw taro
- Peel and thoroughly wash taro, then cut into cubes.
- Place in a steamer and cook until softened, about 30 minutes. Once cooked, let cool down slightly, for about 10 minutes.
- Add taro and coconut milk to a blender or food processor, then pulse well until fully pureed. If there are any large chunks, pass the mixture through a large sieve to remove big lumps.
Is using taro paste
- Into a medium pot, add taro paste, sweetened condensed milk, salt, coconut cream and coconut milk (for raw taro method, this has already been added to the taro).
- Cook over medium-low heat until it starts simmering. Afterwards, remove from heat and use an immersion blender to mix everything well until fully combined.
- Let the mixture cooldown completely, then refrigerate for 2-3 hours or overnight.
- Add the taro mixture to a well-chilled ice cream maker bowl and churn according to manufacturer’s instructions. This can take between 30-45 minutes.
- Once churned, transfer the ice cream to a freezer-safe container and use a spoon to even out the top. Seal well and freeze for 4-5 hours or until set firm.
- To serve, dip an ice cream scoop in hot water, then scoop out ice cream. Top with toasted coconut flakes and enjoy immediately.
Notes
- Taro paste - follow the full recipe on How to make Taro Paste
- Nutritional value is estimative only and is calculated per serving, without any additional toppings. This recipe makes 6 servings (2 small scoops per serving).
Nutrition
Pin this recipe for later!


Leave a Reply