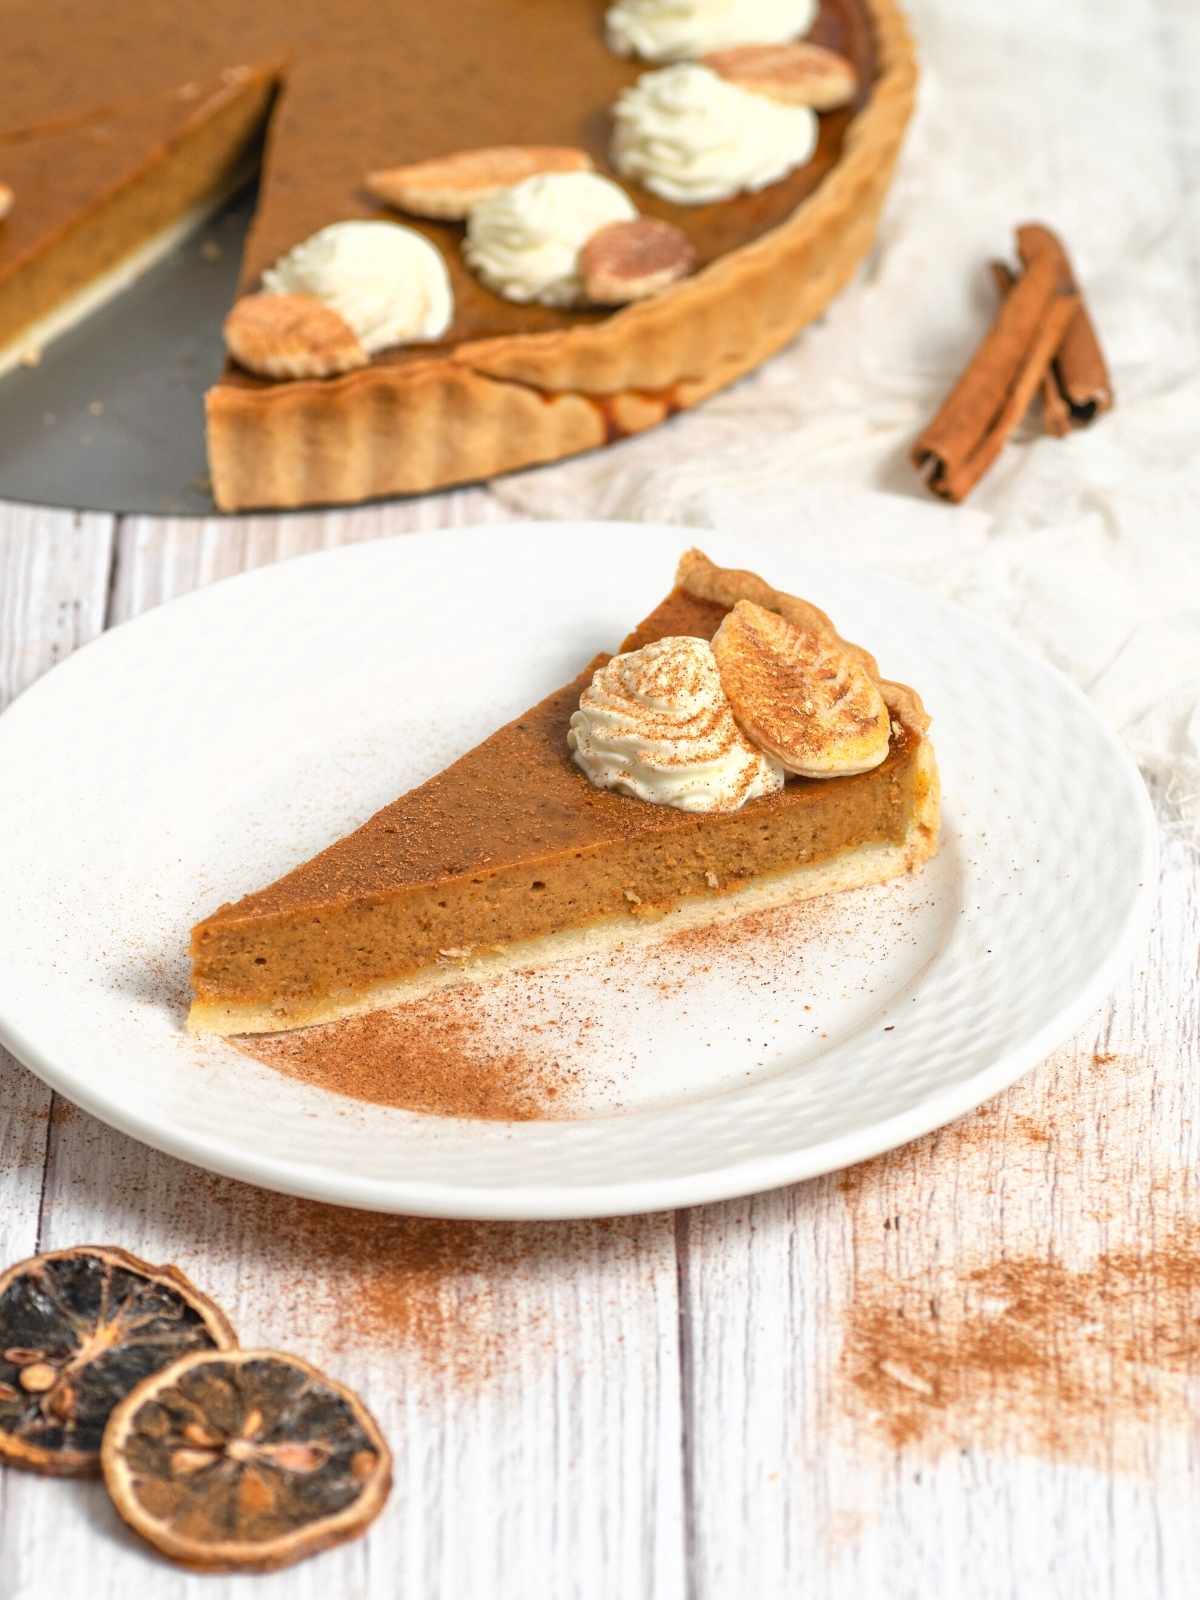
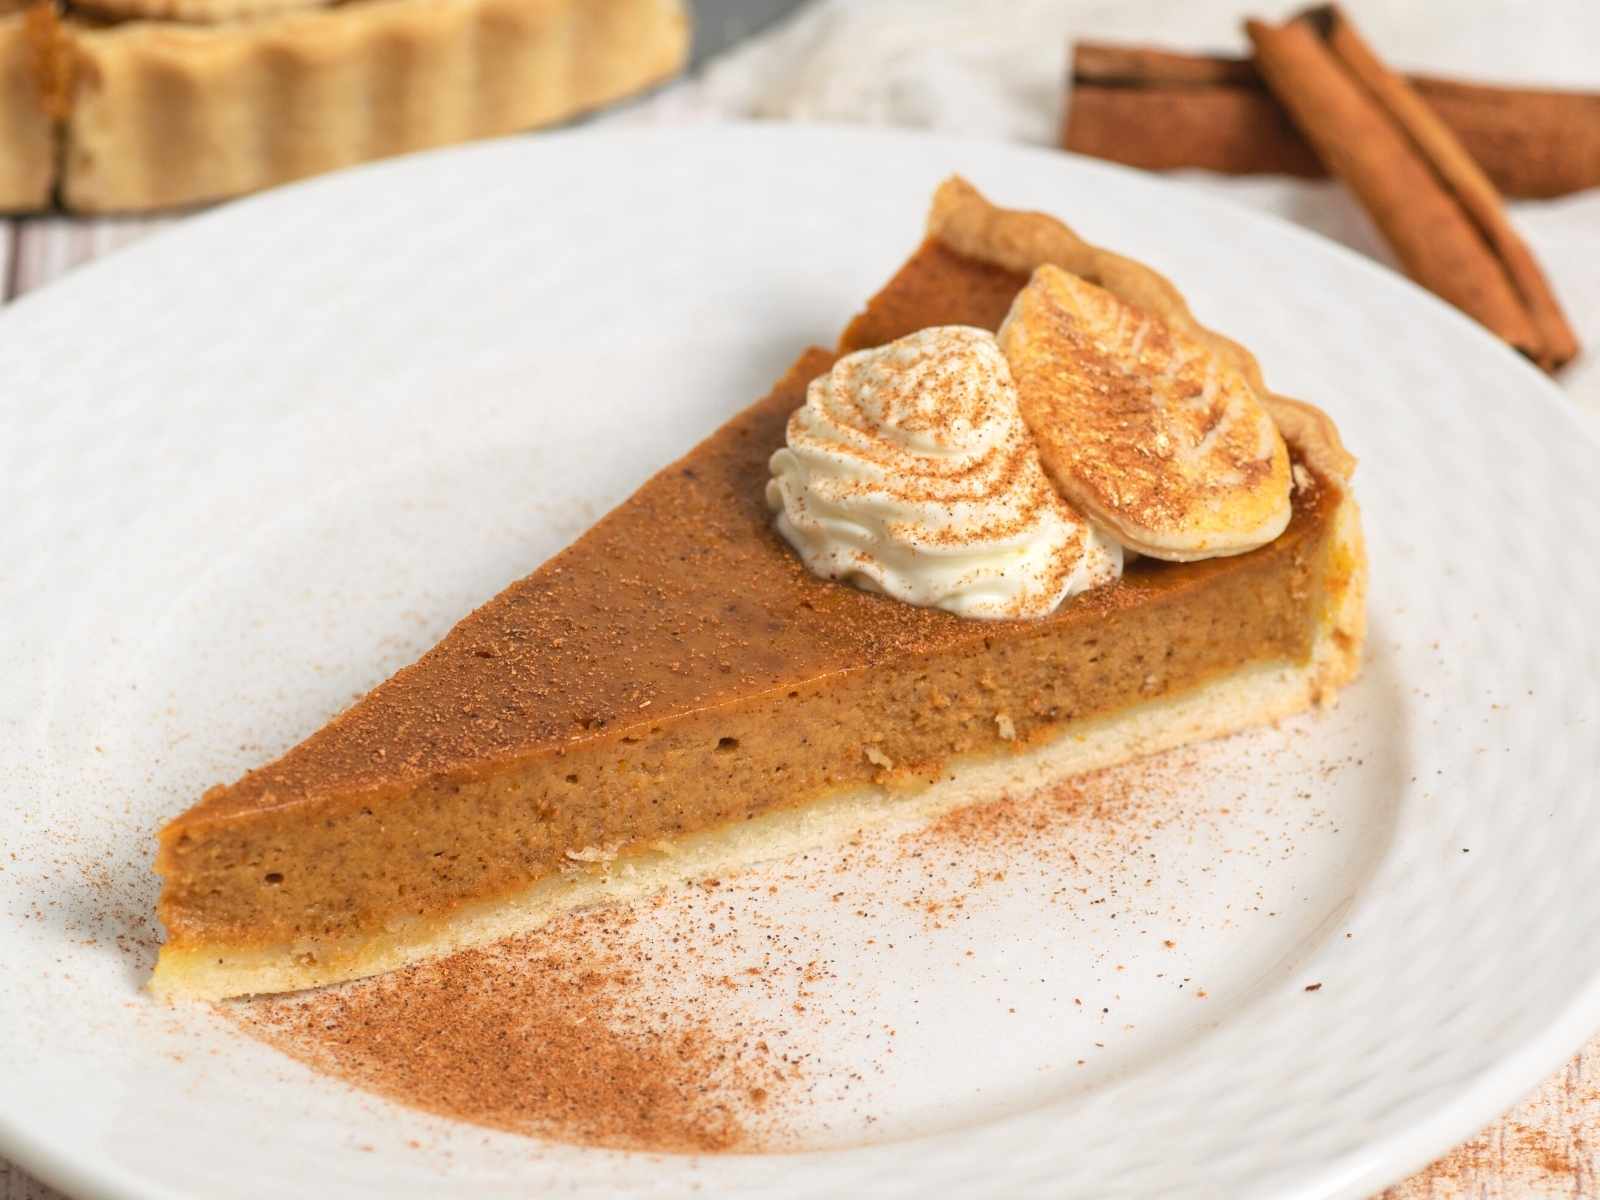
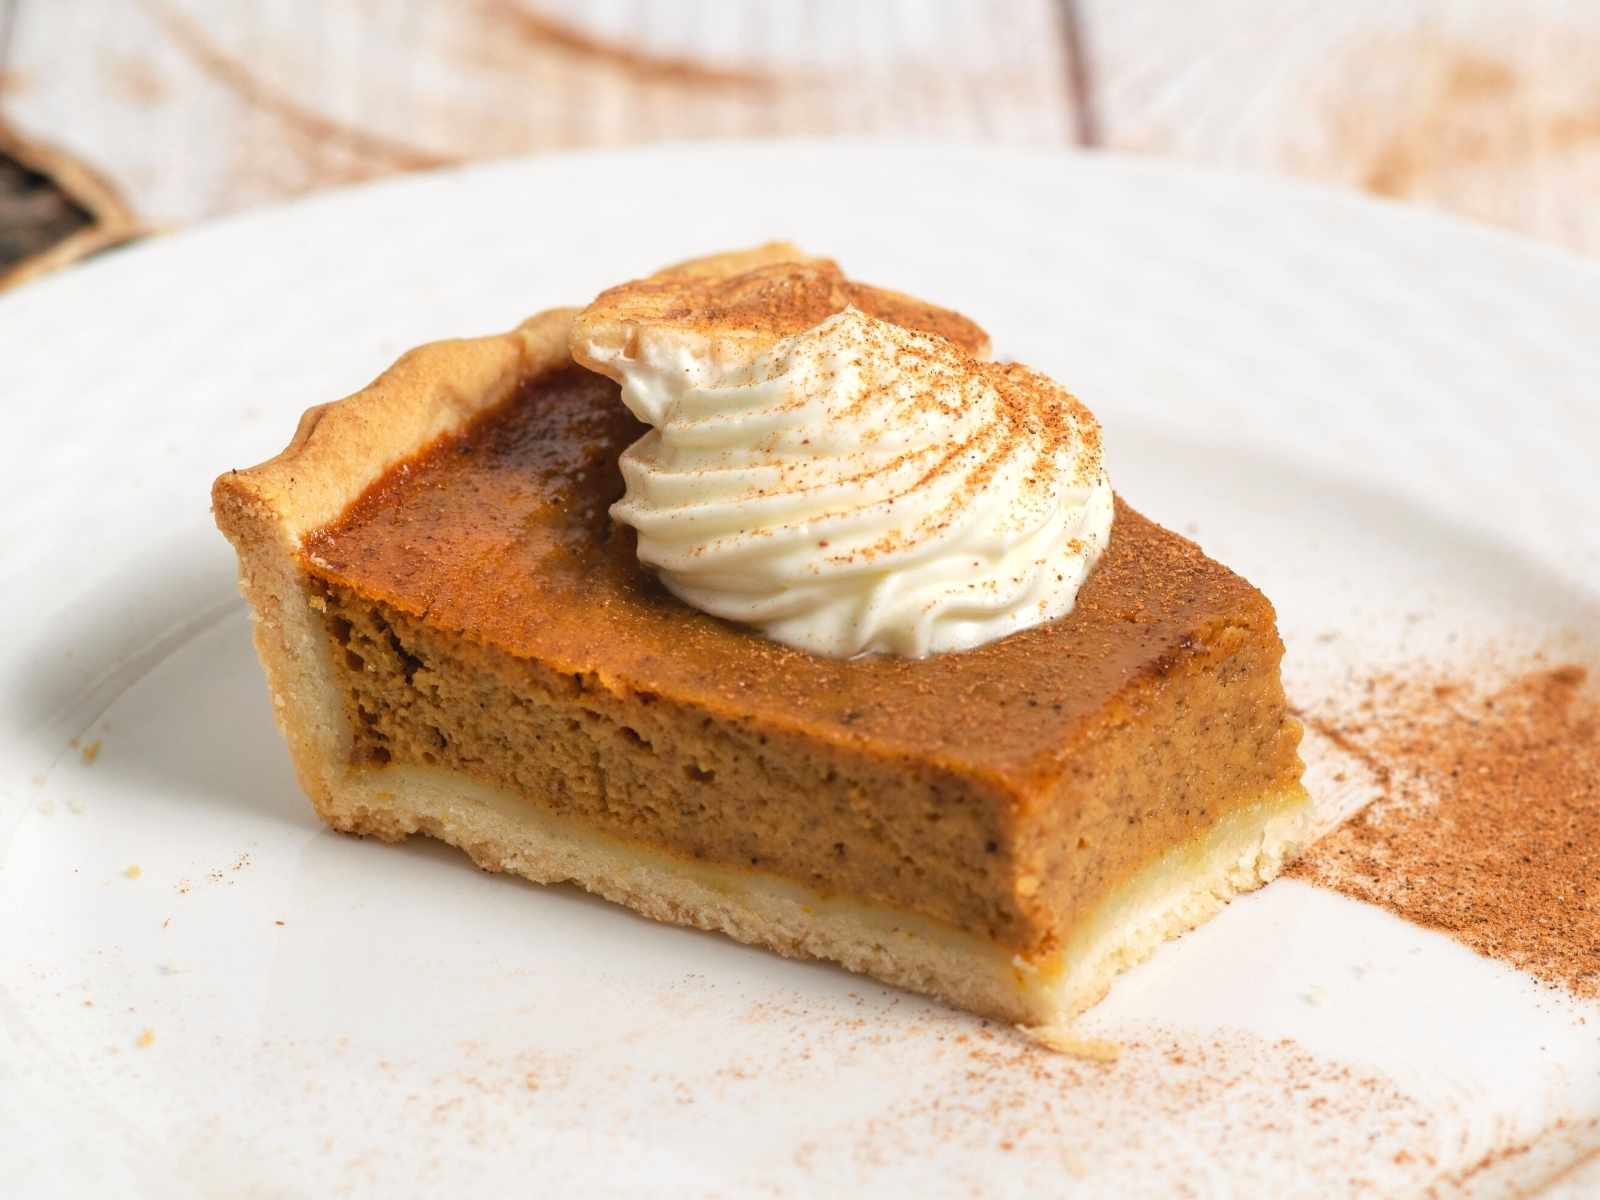
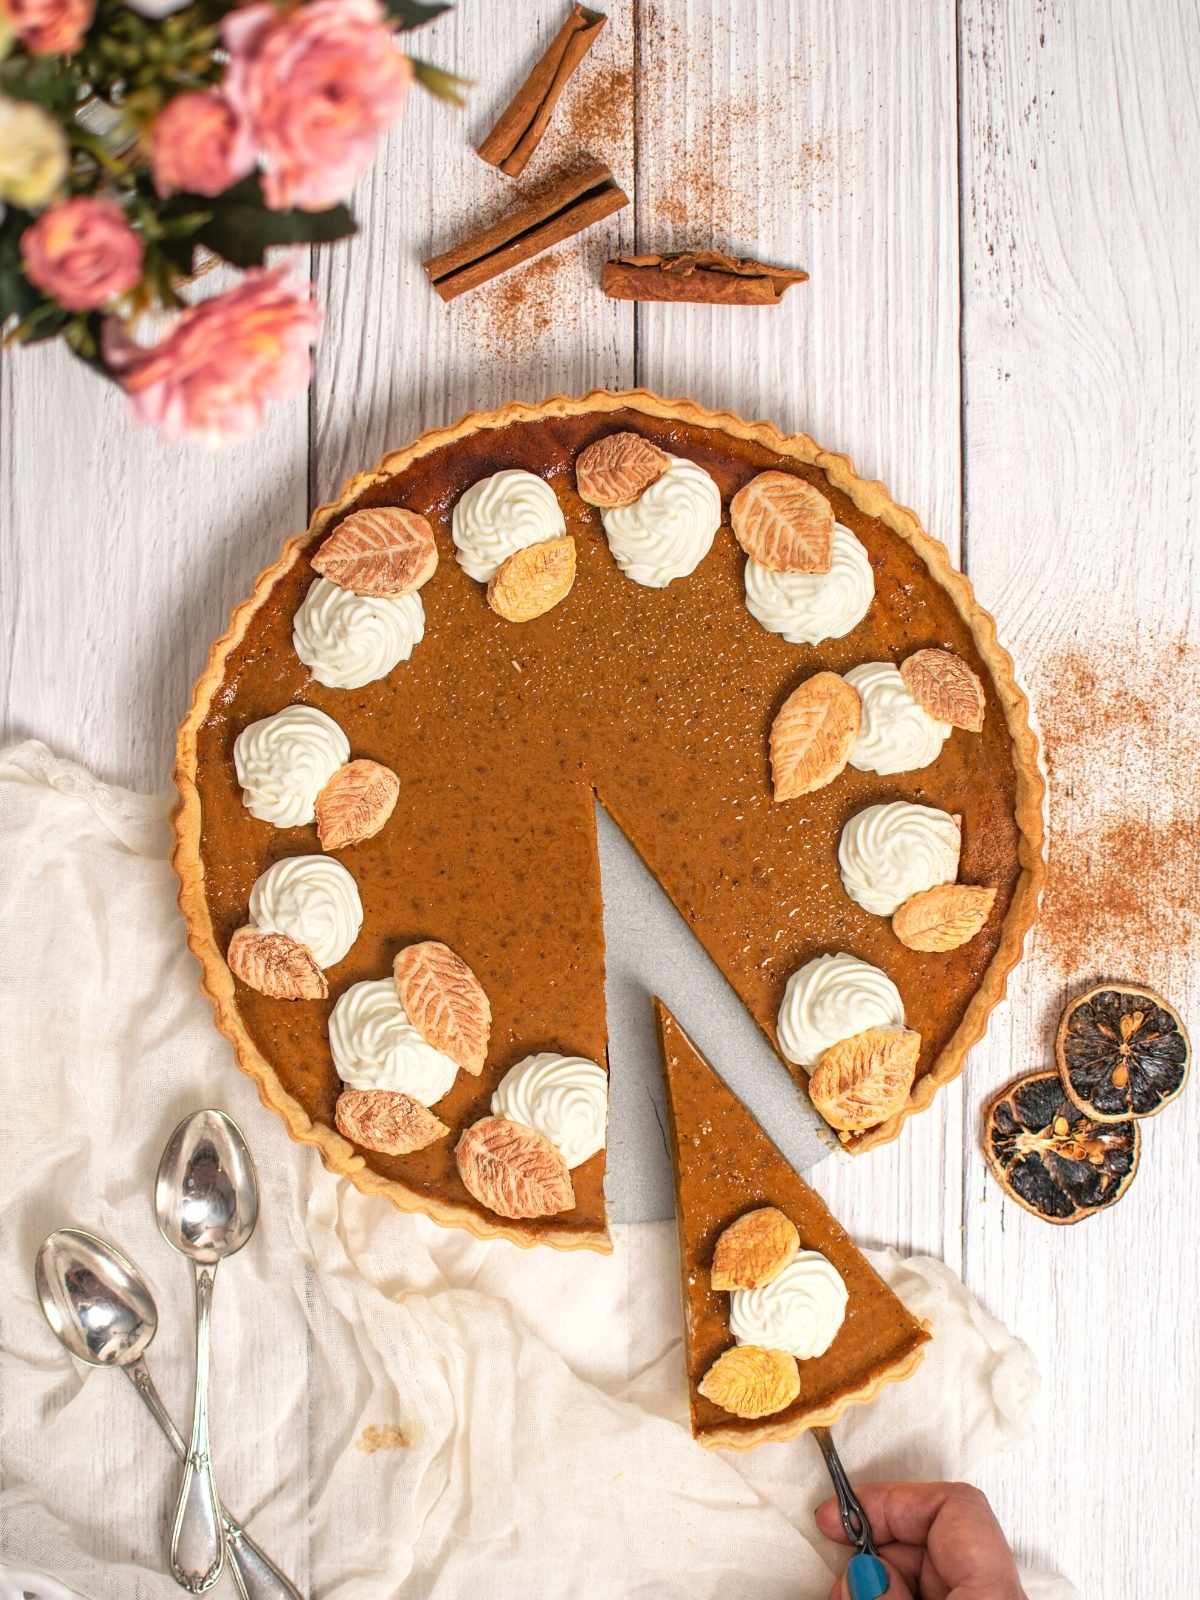
Silky smooth and incredibly fragrant easy pumpkin pie without evaporated milk. This recipe is as easy as it gets, takes only minutes to prepare and bakes to perfection. Made with a crunchy shortcrust pastry and served with cream cheese frosting.

When it comes to Thanksgiving, nothing says autumn quite like pumpkin pie. It’s silky smooth, creamy, spiced to perfection and all over superb. And did I mention that crunchy, buttery pastry? YUM!
We all know and love the classic all-American traditional pumpkin pie made with evaporated or canned milk. In the craziness before Thanksgiving it’s easy to forget buying key ingredients.
This is where this easy pumpkin pie recipe without evaporated milk comes to the rescue, because it only uses regular milk and cream. In my opinion this is the best pumpkin pie recipe because it has an intense pumpkin flavor and it's such an easy recipe.
Looking for more amazing Thanksgiving recipes? I’ve got your back! Check out my festive Pumpkin Crunch Cake, cute and delicious Pumpkin Cheesecake Cookies, extra fragrant Spiced Pumpkin Pie or flaky and juicy Walnut Pumpkin Pie Rolls.

Why this recipe is great
- No evaporated milk needed: if you don’t have any evaporated or condensed milk in your pantry, this is the recipe for you!
- Simple ingredients: all ingredients used can be easily found in most kitchens. The main ingredients are canned pumpkin, milk, eggs and cream. Yep, as easy as that!
- Silky smooth and fragrant: Although no canned milk is used, this pumpkin pie no evaporated milk is incredibly smooth and creamy. It has the perfect texture and is spiced to perfection with cinnamon, nutmeg and ginger.
- Bakes perfectly every time: I’ve made this recipe countless times in different pie dishes and it comes out perfectly every time. Just keep an eye out on your oven.
- Takes minute to prepare: All you need is a large bowl and a hand mixer or whisk. All in all, this pie takes about 10-15 minutes to prepare and around 50 minutes to bake.
- Stores well: Once baked, this easy pumpkin pie without evaporated milk lasts for up to 4-5 days. Although it tastes best when freshly baked, in case of emergency you can make this pie ahead by a few days.
Tools & Equipment
This recipe is enough for a 9-inch pie. Although less traditional, I like to use tart pans for my pies. The best kind of tart pans have a removable bottom, which makes the removal of the pie flawless and effortless. Unlike a regular fixed bottom pan, there is no risk of the pie crust breaking. Here's my favourite tart pan with removable base I use all the time.
For a more rustic feel, you can use a regular 9-inch pie dish. This set of two pie dishes is deep and sturdy, perfect for baking your favourite pies.
You will also need a large mixing bowl, a whisk or spatula and optionally a large pouring jug.

What pumpkin to use for the filling
Canned pumpkin
The beauty of this easy pumpkin pie without evaporated milk is how quick and easy it is to make. So the best and easiest choice for this recipe is canned pumpkin. Any brand works, as long as it contains pure pumpkin.
We will be adding sugar and pumpkin pie spice separately, so make sure the pumpkin puree you get does not contain sweeteners. This way it’s easier to control the amount of spices and sweetness for the perfect flavour.
My most trusted canned pumpkin pie filling is by Libby’s, as it has the best texture and flavour. An excellent organic version of canned pumpkin I really like is from Farmer’s Market. A third favourite is Trader Joe’s, with a great flavour and texture.

Real pumpkin
However, if you have lots of time on your hands, you can use real pumpkin. This will give you the best flavour, but it does take longer to prepare. There are a number of different pumpkins you can use.
Although you can use many different typed of pumpkins or squashes, here are some of my favourite. Look for varieties that specifically fall under the sugar pumpkin or pie pumpkin variety. Some excellent options would be Dickinson, Fairytale (Castilla squash), Nantucket or Jarrajdale pumpkins.
You will need to clean, cut and remove all the seeds and stringy bits. Then lightly season with salt and sprinkle a little oil and bake for 45-60 minutes. Once soft, let the pumpkin cool down before scooping it into a blender and turning into a puree.
Overall, using fresh pumpkin will add an extra 1.5 – 2 hours to your pie prep time.
Ingredient round-up
All ingredients in this recipe are very simple and can be found in most pantries or your usual grocery store. Here’s what you will need:

- Pie dough – I like to use shortcrust pastry because it’s buttery, but still crispy. Make sure it’s well chilled before using. You can also make your own pastry, follow my trusted recipe for homemade pie crust.
- Pumpkin puree – Canned pumpkin works best, but you can also use fresh pumpkin. See section above for more details.
- Eggs – use large eggs and make sure they’re at room temperature. They cannot be swapped or left out in this recipe.
- Milk – I like to use full fat milk, but any kind of milk or plant based alternative will also work.
- Heavy cream – the secret ingredient that makes this pie extra creamy and smooth.
- Brown sugar – I recommend using light brown sugar for a subtle caramelised flavour. You can also use plain granulated sugar or dark brown sugar instead.
- Pumpkin pie spice – extremely important for this recipe, as they add the perfect flavour. I recommend using cinnamon, nutmeg and ground ginger as an absolute must. Optional, you can also add allspice and ground cloves for an extra kick.
- Corn starch – Helps thicken the pie and get it to set to the right consistency. Make sure it’s measured correctly, as adding too much can make the pie too hard. Corn starch cannot be replaced with flour, but you can swap it for an extra egg.
- Salt – optional, but it helps bring out all the amazing flavours. Use fine sea salt or Himalayan salt.
How to make pumpkin pie without evaporated milk

- Add pastry to a pie dish and press it into shape. Prick the bottom with a fork a few times.
- Add a baking sheet on top of the pastry and fill with pie weights or baking beads, then bake until hardened.
- In a large mixing bowl add all the ingredients for the pumpkin filling. Combine well into a smooth paste.
- Pour pie filling into baked pie shell, without overfilling. Bake until firm, with a slight wobble in the middle.

Success Tips & Tricks
- Save extra pie crust for decorations – If using store bought pie crust, chances are you’ll have some left over after trimming the excess off. I like to use it to make cute little decorations. Just use a cookie cutter or stamp and make any shapes you like. Brush with egg wash and bake for 10-15 minutes or until golden in colour.
- Blind bake the pie crust – Although not an absolute must, I do strongly recommend blind baking the pie crust. This will make it much crispier and will save you from the stress of having a soggy bottom on your pie.
- Use a jug to pour the filling – The pie filling is quite liquid, and it can cause a mess when pouring. I recommend using a jug or bowl with a lip to pour it mess-free. Also, be careful when pouring the filling, as the dish will be very hot.
- Don’t overfill – Ensure not to overfill the shell with pumpkin pie mixture, as it can overflow when baking. Do not fill up the brim, leave about ½ inch.
- Walnuts for crunch – If you like a little crunch in your pies, sprinkle in some chopped walnuts. They not only add texture, but make the pumpkin pie more flavourful.
- Perfect wobble – Baking time can depend from oven to oven, so after 40 minutes it’s best to keep an eye on your pumpkin pie. It’s ready when it has a slight wobble in the middle, but not completely jiggly.
- Serve with cream – Let pie cool down completely, then serve with a generous dollop of cream cheese frosting or whipped cream.

If you're looking for the vegan version of this recipe, this Vegan Coconut Pumpkin Pie will satisfy your pumpkin craving without any eggs or dairy!
How to store
This pumpkin pie without evaporated milk stores up to 4-5 days in the fridge. Once baked, let it cool down completely before adding to an airtight container and refrigerating. You can also wrap it in plastic wrap. Decorate before serving.
You can also freeze it for longer term storage. To freeze, cover in plastic wrap, then add a layer of aluminum foil. Freeze for up to 3 months, then thaw in the fridge overnight. Warning: freezing and thawing can make the pie crust less crispy and a little soft.
Frequently asked questions
Pumpkin pie should not be left out for longer than 2 hours. Afterwards it can develop bacteria, which should not be consumed. It’s best to refrigerate it to be safe.
Over-baking pumpkin pie can make it go hard. To prevent this, check on the pie every few minutes after the 40 minute mark until it has a slight wobble in the middle. Then it’s ready to be taken out.
This can happen when refrigerating the pie, especially if the pie is still warm when placed in the fridge. However, the watery bit on top does not change the flavour in any way. It can easily be removed by tapping gently with a paper towel.
This can happen for multiple reasons. Pumpkin pies typically crack on top when overbaked. When the pie has a slight wobble in the centre, it’s ready to be taken out,. Make sure you keep a close eye on it after 40 minutes of baking.
Another reason is change in temperature. If the ingredients are too cold, it can cause the pie to crack when baking. Similarly, it can also happen if you place the hot pie directly on a cold kitchen counter.

If you enjoyed this recipe, you will love these too:
Looking for more delicious pie recipes? Check out this refreshing Frozen Lemonade Pie or this decadent no bake Turtle Pie! If you're in the mood for more cozy flavors, don’t miss this Pecan Pumpkin Pie or indulge in a British favorite with this delightful Treacle Tart!
If you’ve tried this recipe out, please don’t forget to rate and comment on this post. I love hearing from you, so feel free to reach out to me on social media as well and tag me in your posts!
Recipe

Pumpkin pie without evaporated milk
Equipment
- 9-inch pie pan
- large mixing bowl
- whisk or spatula
- pouring jug (optional)
- pie weights or baking beads
Ingredients
- 1 roll pie crust (shortcrust pastry)
- 1 can pumpkin puree (canned) (15 oz. or 450 grams)
- 3 eggs, large, room temperature
- 1 cup light brown sugar, packed
- 1 tablespoon corn starch
- ½ cup heavy cream, room temperature
- ¾ cup milk, room temperature
- ¼ teaspoon fine salt
- 1 ½ teaspoons ground cinnamon
- ½ teaspoon ground nutmeg
- ½ teaspoon ground ginger
- ⅛ teaspoon allspice (optional)
- ⅛ teaspoon ground cloves (optional)
Instructions
- Preheat oven to 375°F (190°C).
- Place the rolled-out pie crust in a 9-inch pie dish. Press the sides to gently stick it to the sides of the dish. Flute the edges with a fork or with fingers. Prick the bottom of the pie crust with a fork. If desired, use remaining pie crust to make decorations.
- Crinkle a piece of parchment paper, then place it on top of the pie crust. Fill with baking beads, then bake for 10-15 minutes. Remove the parchment paper and weights.
- Prepare the pumpkin pie filling by whisking the eggs and sugar together. Pour in the canned pumpkin, then mix again to combine.
- Add the corn starch, salt, all the spices, milk, and double cream. Mix well to combine into a smooth paste.
- Pour the pumpkin pie filling into the hot crust, without overfilling. Bake for 40-50 minutes or until it has firmed up. The centre should still have a little wobble, but not be completely jiggly. Keep a close eye on the pie after the 40 minute mark.
- Cool down the pie for at least 2-3 hours before cutting. Serve with whipped cream or cream cheese frosting.
Notes
- Nutritional value is estimative and it's calculated per serving without any frosting (this recipe makes 12 servings).
- Pumpkin puree is not the same as pumpkin pie filling. Please use pumpkin puree for this recipe, with no added spices. We will be adding the spices separately.
- Once fully cooled, place the pie in an airtight container or cover with plastic wrap before storing in the fridge.
Nutrition
Pin this recipe for later!


Kacey says
I started testing different pie recipes before Thanksgiving and I love this one! I didn't need to go to the store as I already had everything at home. Love how you decorated the pie, will make it like this for Thanksgiving dinner!